
Set up environment
I’m using Oracle VirtualBox and Windows 7 pro, with a 60GB virtual hard drive and 4gb of memory. I’m using Chrome as browser.
I’ve been loosely following instructions for setting up Nutch, found here: http://zillionics.com/resources/articles/NutchGuideForDummies.htm
To use SOLR on windows, these separate pieces of software are required:
- The latest version of Java, from http://www.oracle.com/technetwork/java/javase/downloads/index.html
- The SOLR install, from http://lucene.apache.org/solr
- The MySQL database, from https://dev.mysql.com/downloads/installer
- I chose mysql-installer-community-5.7.14.0.msi. Note that this installer can install both x32 and x64 versions of mySQL
- Nutch, which is a web crawler that sends data to Solr, from http://wiki.apache.org/nutch/DownloadingNutch
- TomCat, open source web server software (“apache”), from http://tomcat.apache.org/download-90.cgi
- Cygwin, a library that provides support for some linux features under windows http://www.cygwin.com
I used version 1.12 of Nutch. There are two versions of Nutch available, 1.12 and 2.3.1 but from the project description, it sounds like 2.3.1 is optimized for multiple server environments and nosql. As my installation will run on a single server, I thought 1.12 might be easier to set up.
Installing Java
I first ran the java installer.
Installing MySQL
I started by installing MySQL, which is used by Nutch to store search information.
First, I installed MySQL. I chose “Developer Default” as the setup type.
I received a “Check Requirements” warning that these products couldn’t be installed, which I ignored.
- MySQL Workbench
- MySQL for Excel
- MySQL for Visual Studio
- MySQL Fabric
- Connector/Python
I received a warning that “one or more product requirements have not been satisified.” I chose to continue, then clicked on the “Execute” button.
Next, I was warned that “ODBC” failed to install. I ignored that warning and was taken to a product configuration screen. There, I clicked on “Next”.
The next screen displayed was “Type and Networking”. There, I selected “Development Machine” as the “Config Type”. This was the only change I made to this initial configuration screen.
On the next screen I was prompted for a MySQL root password. I entered something suitably arcane and hard to guess. I clicked on “Add User” to add a database user, and named my new database user “QueryUser”.
On the “Windows Service” screen, I left the defaults in place. The default Windows Service Name was “MySQL57”.
On the “Plugins and Extensions” screen I did not check the box for enabling X Protocol / MySQL as a Document Store
On the “Apply Server Configuration” tab, I just clicked “Execute”.
Next, a message was displayed indicating that the “MySQL57 service has been started”.
I found myself at a “Product Configuration” page and from there I clicked on “Next”.
On the “Connect to Server” tab that followed, I clicked on the “Check” button to confirm that the root password was correct (I did not change this password–it’s the same that was set back during the initial configuration.
On the “Apply Server Configuration” page, I clicked on “Execute”, and then on “Finish”
Installing SOLR
I’m using SOLR version 6.1.0. I had previously downloaded the zip file, and as the first step in the installation I unzipped the SOLR files to a directory called install/solr-6.1.0.
Once unzipped, I executed this command to start SOLR:
bin/solr start -e cloud -noprompt
I then received a windows security alert, telling me that some features of java had been blocked by windows firewall. I clicked on the “allow access” button.
I was rewarded by this message telling me that SolrCloud was running:
please visit: http://localhost:8983/solr
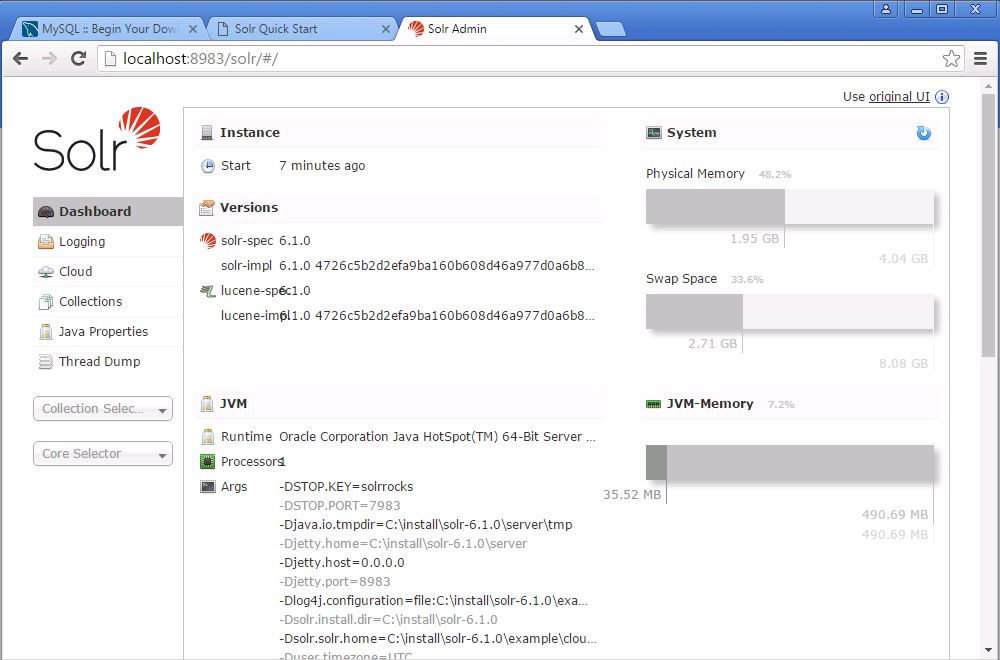
Visting this url brought up a nice dashboard.
To index files, the SOLR documentation suggests use of the POST script. However this script doesn’t work in windows. The underlying Java application does, though. This document describes how to index documents in windows: https://cwiki.apache.org/confluence/display/solr/Post+Tool#PostTool-Windows
I was able to execute this command to index all xml files in the example/exampledocs directory:
C:\install\solr-6.1.0>java -Dc=gettingstarted -jar example/exampledocs/post.jar .\example\exampledocs\*.xml
Installing TomCat
I downloaded the “32-bit/64-bit windows installer” file. I ran the installer, selecting these options:
- Tomcat
- Start Menu Items
- Documentation
- Manager
- Host Manager
I left the configuration at the defaults, with the exception of user name and password which I set to the same as I had used for mysql.
Installing Nutch
Nutch is used to crawl web sites.
I started by unzipping the Nutch folder to c:\installs. I then added two environment variables (right-click Computer, properties, Advanced System Settings). The two environment variables I added were JAVA_HOME and NUTCH_JAVA_HOME. I set them both to the location of the JRE on my computer. (On my computer, that was C:\Program Files\Java\jre1.8.0_101).
Installing Cygwin
I downloaded and installed the 64-bit version of Cygwin. When prompted for packages to install, I went with the default (which is the whole list).
Configuring
I started with Cygwin. The first step is to set the JAVA_HOME variable.
This command sets the current directory location. Preface the directory with “/cygdrive/”
$ cd /cygdrive/c/install/apache-nutch-1.12
This command sets the location of the JAVA_HOME directory to the location of the Java install on my PC.
$ export JAVA_HOME=’/cygdrive/c/program files/java/jre1.8.0_101′
I next created a “urls” subdirectory in my Nutch installation directory.
In this subdirectory I created a text file called “search.txt” (the name doesn’t matter) and added a single line to the text file for “http://robot.jlion.com/“. This text file is the list of URLS that should be searched, with each URL on a single line in the file.
I created a directory in the Nutch directory called “crawl”
I then started the CygDrive terminal and executed this command:
cd /cygdrive/c/install/apache-nutch-1.12
Followed by this one:
bin/crawl -i -D solr.server.url=http://localhost:8983/solr/ urls/ Crawl/ 2